 Semiahmoo Exterior
 Siding Repair in Marietta: What Local Homes Are Up Against
Marietta sits close to the water, tucked near Semiahmoo in Whatcom County, and that location shapes what happens to siding here faster than almost anywhere else in the region. Salt-laden air off the bay works on fasteners, trim, and any exposed wood edge year-round. Driving rain off Drayton Harbor and the Strait hits west- and south-facing walls at an angle, not straight down, which means it gets into laps, seams, and corner boards that would stay dry in a calmer climate. Add a moss season that can run eight or nine months out of the year, and you have a siding system that's under constant low-grade attack even when nothing looks obviously wrong.
Most siding repair calls we get in this area aren't from one dramatic event. They're from small problems — a cracked panel, a gap at a butt joint, a patch of moss holding moisture against the wall — that sat for a season or two and turned into something bigger. Catching and fixing those issues correctly, with the right materials and the right sequence, is the whole job.
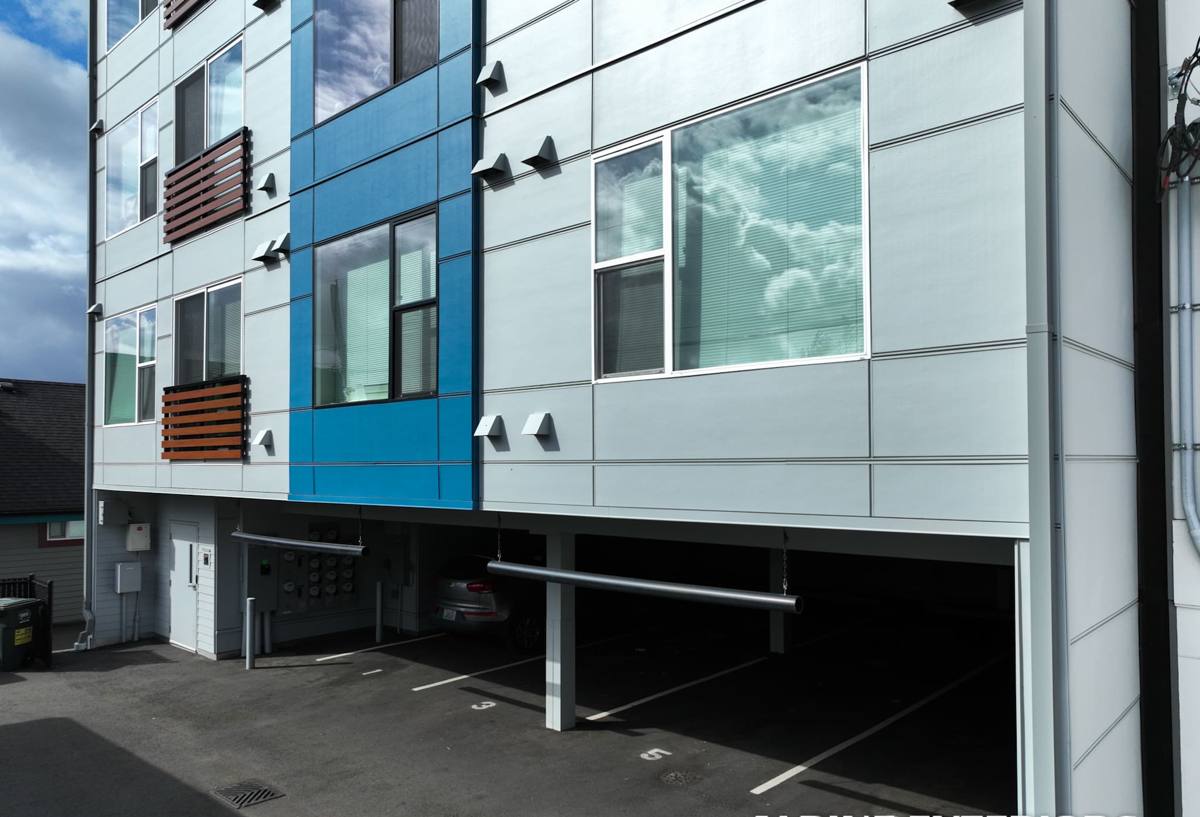
Signs Your Siding Needs Repair, Not Just Cleaning
A pressure wash or a coat of paint can hide a problem for a while, but it doesn't fix what's underneath. Homeowners in Marietta should treat these as repair signals, not cosmetic issues:
- Soft or spongy spots when you press on the siding, especially near the bottom courses or under windows
- Visible cracking, splitting, or buckling in individual boards or panels
- Persistent moss or algae growth that returns within weeks of cleaning
- Paint that's bubbling, peeling, or failing in the same spots repeatedly
- Gaps opening up at seams, corners, or where siding meets trim and flashing
- Stains or dark streaking below nail heads or fastener lines
- A musty smell or visible mold on the interior wall opposite a suspect area
Any one of these can be minor on its own. Two or three together, especially on a wall that faces the water or prevailing weather, usually means moisture has been getting behind the siding for a while.
What a Correct Siding Repair Actually Involves
It Starts Behind the Siding, Not On Top of It
A repair that only addresses the visible board is a temporary fix. Before we replace anything, we check what's behind it — the house wrap or building paper, the flashing at windows and penetrations, and the sheathing itself. In a climate like this, damaged siding is often a symptom of a flashing or moisture-barrier failure, not the root cause. Replacing the board without fixing what let water in means the same repair call again in a year or two.
Matching Fastening and Clearances
Repairs also need to respect the original installation's fastening pattern and, just as important, its clearances — gaps at grade, at roof lines, and at decks or patios that keep siding from sitting in standing water or trapped moisture. It's common on older homes here to find repairs from years past where a panel was replaced but jammed tight against a deck ledger or set too close to grade. That kind of shortcut guarantees a repeat failure.
Sealing and Finish Work
Caulking and sealant choice matters more on the coast than inland. We use sealants rated for the movement and UV exposure this area sees, and we don't rely on caulk to do a flashing detail's job — it's a finishing step, not a waterproofing strategy.
Repair vs. Replace: How We Make the Call
Not every damaged section needs a full re-side, and not every repair is worth doing on its own. We look at the extent of the damage, the age and condition of the surrounding siding, and what's driving the problem in the first place.
| Situation | Usually a Repair | Usually Points to Replacement |
|---|---|---|
| Damage scope | Isolated to one or two boards/panels | Spread across a wall or multiple elevations |
| Underlying cause | Single flashing or fastener issue, now correctable | Systemic moisture intrusion or failed weather barrier |
| Siding age/condition | Otherwise sound, under 15–20 years old | Nearing end of service life or already failing elsewhere |
| Material match | Matching product still available or acceptable | Original product discontinued or a known problem material |
| Cost pattern | One-time, contained cost | Repeat repair calls on the same wall over a few years |
We'll always give you the honest read on which side of that table your home falls on. Sometimes a repair is the right call and we'll say so; we're not trying to sell a full re-side when a targeted fix will hold.
Matching Materials: Why Repairs Get Tricky Over Time
One of the harder parts of siding repair isn't the labor — it's finding a material that actually matches what's already on the wall. Vinyl and older fiber cement products get discontinued or change color runs, wood siding weathers unevenly, and LP-style engineered wood panels installed years ago may no longer be available in the same profile. When an exact match isn't possible, we'll walk you through the real options: a close match on the affected wall, a slightly wider repair area to blend the transition, or in some cases planning for full replacement of that elevation down the road.
This is also where our position on materials matters. We install James Hardie fiber cement exclusively — we don't install vinyl, LP SmartSide, Cemplank, Allura, or bare cedar or spruce siding. When a repair calls for new material and the homeowner is open to it, we'll use Hardie, both because it holds color and finish consistency over time (making future matches easier) and because it performs better against the specific conditions Marietta deals with: it doesn't absorb moisture and swell the way engineered wood products can, and it won't support rot the way untreated wood siding will if moisture gets past a seam.
Our Process From Inspection to Finished Repair
- Inspection: We assess the damaged area and check what's happening behind it — flashing, house wrap, sheathing condition.
- Diagnosis: We identify the actual cause, not just the visible symptom, and explain it in plain terms.
- Scope and estimate: You get a clear picture of what's being repaired, what material will be used, and why.
- Repair or replacement: Damaged material comes out, underlying issues get corrected, and new material goes in to spec — proper clearances, fastening, and flashing integration.
- Finish and seal: Trim, caulking, and touch-up finish work so the repair blends with the surrounding siding.
- Walkthrough: We show you what was done and what to watch for going forward.
Why James Hardie Is What We Use for Structural Repairs
When a repair involves replacing more than a patch — a full section, a corner, or an elevation — we use James Hardie fiber cement. It's non-combustible, it's engineered for wet, temperate climates like this one under Hardie's HZ5 product line, and it carries a ColorPlus factory finish that resists the fading and touch-up mismatch you get with field-painted repairs on other materials. Its transferable warranty is also meaningful on a repair job specifically, because it protects the work for whoever owns the home next, not just the person who paid for it. We won't pretend every siding problem requires a Hardie upgrade — plenty of repairs are simple, contained fixes. But when the conversation turns to what to use for a real repair or partial replacement, this is why we don't hedge on the answer.
Choosing a Contractor Who Already Works Marietta
Siding repair is detail work, and the details that matter change depending on where a house sits relative to the water and weather. A contractor who's worked walls in Marietta and around Semiahmoo already knows which elevations take the worst of the driving rain, how aggressive the moss season is here compared to more sheltered inland neighborhoods, and what salt exposure does to fasteners and trim over a few winters. That local pattern recognition shortens the diagnosis and reduces the chance of a repair that looks right but misses the actual cause. When you're vetting a contractor for this kind of work, ask what they check behind the siding, not just what they replace on top of it — that answer tells you a lot about whether you're getting a real repair or a cosmetic patch.
Maintenance Checklist After a Repair
- Rinse moss and algae off siding before it establishes, especially on shaded or north-facing walls
- Keep gutters clear so overflow doesn't run down the siding face
- Trim back vegetation and landscaping that holds moisture against the wall
- Check caulking at trim and window edges once a year for cracking or gaps
- Watch the repaired area and its surrounding boards for the first year through a full wet season
- Address any new soft spots or staining promptly rather than waiting for a bigger repair
If you're dealing with cracked, soft, or moss-covered siding on a Marietta home, we're happy to take a look and give you a straight answer on what's actually needed — repair, partial replacement, or just a maintenance fix. Reach out for a free, no-pressure estimate using the form below.