 Semiahmoo Exterior
 Custer Siding Takes a Different Kind of Beating
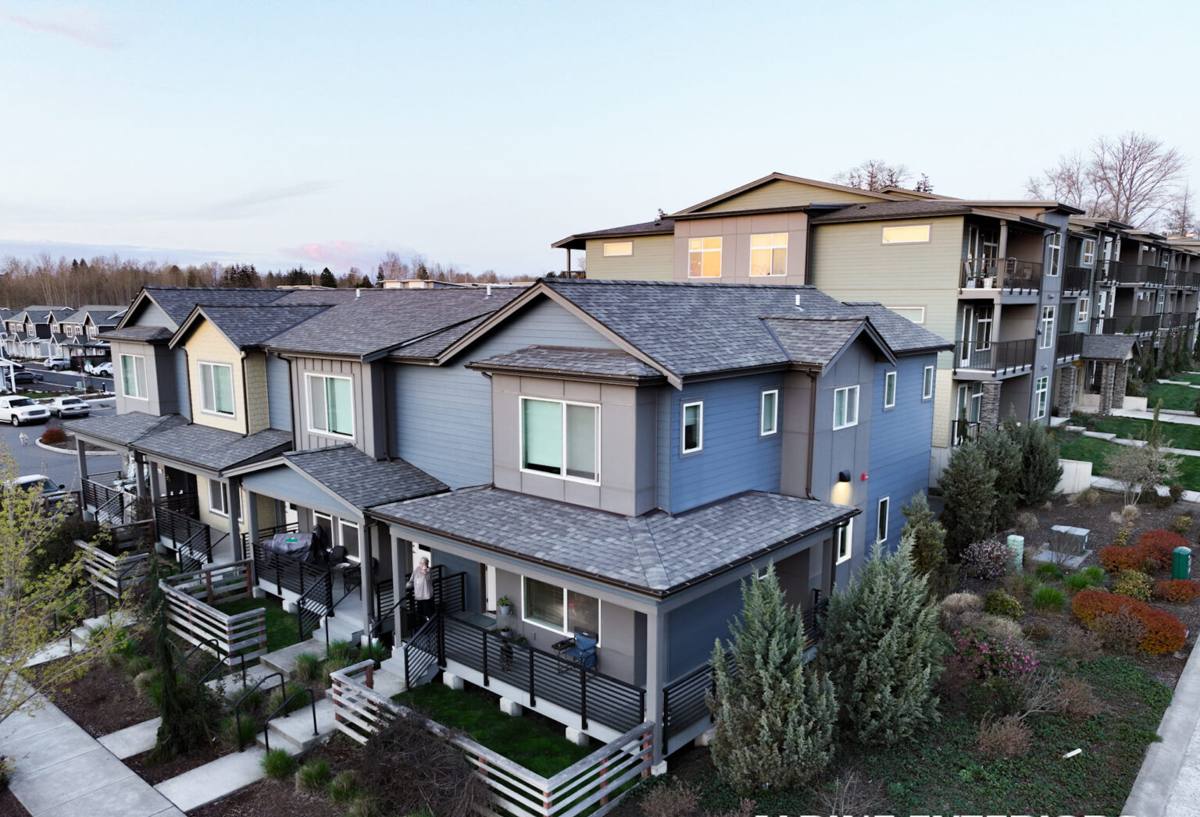
Custer sits close enough to Semiahmoo Bay and the Strait of Georgia that salt-laden air is a constant factor in how siding ages here, not an occasional nuisance. Add Whatcom County's long, wet winters and the shoulder-season drizzle that never seems to fully stop, and you've got a climate that works siding harder than most of the country ever sees. Homes here don't fail because the siding was installed badly on day one — they fail because whatever was installed wasn't built for this specific combination of salt, standing moisture, and shade.
The other factor that's easy to underestimate is moss. Custer's tree cover and marine-layer humidity create long stretches where north- and west-facing walls stay damp for days at a time. That's exactly the environment moss and algae need to get established on siding surfaces, in butt joints, and behind trim. Once organic growth takes hold, it holds moisture against the siding face and accelerates whatever damage was already starting underneath.
None of this means every siding problem in Custer is dramatic. Most of what we're called out for is localized — a section near a downspout, a corner that catches wind-driven rain, a spot where a past repair was never sealed correctly. The goal of a good repair isn't just to patch what's visible, it's to understand why that specific spot failed before we touch it.
What "Repair" Actually Means — Diagnosing the Damage First
Reading the Siding, Not Just the Symptom
A soft spot, a stain, or a section of buckled siding is a symptom. Before we quote a repair, we're looking at what's behind it: is water getting in through a failed caulk joint, a cracked board, bad flashing, or a gap where trim meets siding? Repairing the visible damage without addressing the entry point just means the same failure comes back in a year or two, often worse.
Moisture Behind the Surface
Salt air and constant damp conditions mean moisture can be working on siding from behind long before it shows on the face. We check for soft sheathing, water staining on the back side of removed boards, and signs that moisture has been tracking downward inside the wall assembly rather than shedding outward the way it's supposed to. This is the step that separates a repair that actually holds from one that's cosmetic.
Matching the Right Fix to the Right Damage
Not every damaged section needs the same treatment. A single cracked board might be a straightforward swap. A run of siding with recurring moss staining and soft caulk joints usually points to a drainage or flashing issue that needs to be corrected as part of the repair, not just painted over.
Common Siding Problems We See Around Custer
The specific failure modes vary by siding material, which is part of why a generic repair approach doesn't hold up well in this climate. Here's how the materials we most commonly encounter tend to fail locally, and what that means for repair work.
| Siding Material | Typical Custer-Area Failure | Repair Consideration |
|---|---|---|
| Cedar / wood lap | Moisture absorption, moss and algae staining, cupping, rot at butt joints | Often needs sections replaced rather than patched; underlying rot must be cut out completely |
| Vinyl siding | Cracking in cold snaps, warping near dark trim, moss buildup in overlaps | Matching discontinued colors/profiles is difficult; panels usually need full-course replacement |
| Primed spruce / engineered wood (non-Hardie) | Edge swelling, delamination at cut ends, paint failure in shaded areas | Damage often spreads faster than it appears; conservative repair scope tends to undersize the problem |
| James Hardie fiber cement | Caulk joint failure, coastal grime buildup, isolated impact damage | Non-combustible core resists the moisture and rot failure modes above; repairs are typically localized |
We work on all of these because Custer has all of these on its homes. But when a repair scope grows because the underlying material simply isn't holding up to salt air and moisture the way it should, we'll tell you that plainly rather than keep patching a losing battle.
Our Siding Repair Process
1. On-Site Assessment
We start by walking the affected area and the rest of the exterior, since siding problems rarely respect boundaries — a moisture issue at one corner often has a twin starting on the opposite side of the house. We check flashing, caulk joints, grade slope near the foundation, and any spots where trim, windows, or decks interrupt the siding plane.
2. Confirming the Cause
Before cutting anything out, we confirm whether we're dealing with a surface issue, a flashing or sealant failure, or moisture that's already reached the sheathing. This determines whether the fix is a board swap or something that needs to go a layer deeper.
3. Removing Damage Cleanly
Damaged material gets cut back to solid, dry substrate — not just to the edge of what looks bad. Leaving compromised material in place under a patch is one of the most common reasons repairs fail early.
4. Correcting the Underlying Problem
If the failure traces back to a flashing gap, a missing kick-out, or a caulk joint that was never sealed properly, that gets corrected as part of the repair. A new piece of siding installed over the same unresolved entry point will fail the same way.
5. Matching and Finishing
For James Hardie siding, ColorPlus factory-finished boards give us a much better shot at a clean color match than field-painted material, since the finish isn't subject to the same fading and batch variation. For other materials, we're upfront about how close a match is realistically achievable — sun-faded cedar and discontinued vinyl profiles are honest limitations, not something we can paper over.
Repair vs. Replace — How We Make the Call
Not every damaged section needs full replacement, and we're not going to sell a whole-wall job when a targeted repair will genuinely hold. But there's a point where repeated patching costs more over time than addressing the real problem once. These are the factors we weigh:
| Factor | Favors Repair | Favors Replacement |
|---|---|---|
| Extent of damage | Isolated section, clear boundaries | Spread across multiple walls or hard to contain |
| Underlying material condition | Sound elsewhere, one clear failure point | Widespread softness, delamination, or moss staining |
| Repair history | First repair in this area | Same spot has been patched before and failed again |
| Material availability | Matching material and finish still obtainable | Discontinued profile/color forces a visible patchwork look |
| Root cause | Root cause is fixable (flashing, caulk, drainage) | Root cause is the material's baseline durability in this climate |
When the honest answer is repair, we do the repair. When the honest answer is that the siding is fighting a losing battle against Custer's salt air and moss exposure, we'll say so and talk through what full or partial replacement with James Hardie fiber cement would look like — it's the one product line we install for exactly this kind of coastal, high-moisture exposure, because its non-combustible core and factory finish hold up to the conditions that wear other materials down faster here.
Why a Crew That Already Works Custer Matters
A lot of siding repair problems trace back to a fix that made sense somewhere else but doesn't work in this specific environment — caulk-only fixes that fail within a season in the salt air, or patches that ignore how much shade and moisture a particular wall gets. A crew that regularly works Custer and the surrounding Semiahmoo-area neighborhoods has already seen how these homes age in this climate, which sides of a house tend to take the worst of the driving rain, and which fixes hold up versus which ones come back.
That local pattern recognition also matters for permitting and code questions specific to Whatcom County, and for knowing which drainage and flashing details actually perform in a marine climate versus what's written in a generic installation manual.
Preventing the Next Repair
A good repair should be the last one that spot needs for a long time. Between repairs — or after one — these habits go a long way in Custer's climate:
- Rinse moss and algae buildup off shaded siding sections at least once a year before it gets a foothold
- Keep gutters and downspouts clear so water isn't sheeting down the siding face during heavy rain
- Trim back vegetation that's keeping any wall in constant shade and dampness
- Re-caulk joints around trim, windows, and corners as soon as sealant starts cracking or pulling away
- Walk the exterior after major windstorms to catch cracked or loosened sections early
- Watch for soft spots when pressing on siding near grade level or below downspouts
What We Repair With — and Why We Standardized on Hardie
We install and repair with James Hardie fiber cement because it's engineered for exactly the conditions Custer sees: salt air, sustained moisture, and long stretches without direct sun to dry things out. Its non-combustible composition doesn't feed the moisture-driven rot and delamination that show up in wood and engineered wood products in this climate, and the ColorPlus factory finish holds color and resists the coastal grime buildup that leads to premature repainting. When a repair calls for new material and the homeowner is open to it, matching into or transitioning toward Hardie is usually the more durable long-term answer than continuing to patch a product that's already struggling against the marine climate.
If your existing siding is a different material, we'll still do the repair honestly and correctly — we're not going to talk you into a full replacement you don't need. But we'll always tell you straight when a patch is a real fix versus a temporary one.
If you're dealing with damaged, stained, or failing siding on a Custer home, we're happy to take a look and give you a straight assessment — no pressure, no inflated scope. Use the form below to request a free estimate.