 Semiahmoo Exterior
 New-Construction Windows for Birch Bay: Getting It Right the First Time
Birch Bay sits right on the water, which means the homes going up here face a different set of demands than a house built twenty miles inland. When you're framing a new build or a major addition, the windows aren't an afterthought you bolt in after the fact — they're part of the building envelope from day one. Get the rough openings, flashing, and sealant sequence wrong during new construction, and you're not looking at a simple fix later. You're looking at pulling trim, re-flashing, and sometimes repairing framing that's already been drywalled over.
We install new-construction windows for homes throughout the Semiahmoo area, and Birch Bay is a community we work in regularly. That matters more than it sounds like it should, because coastal construction here has quirks that a crew from outside the area learns the hard way — usually on your house.
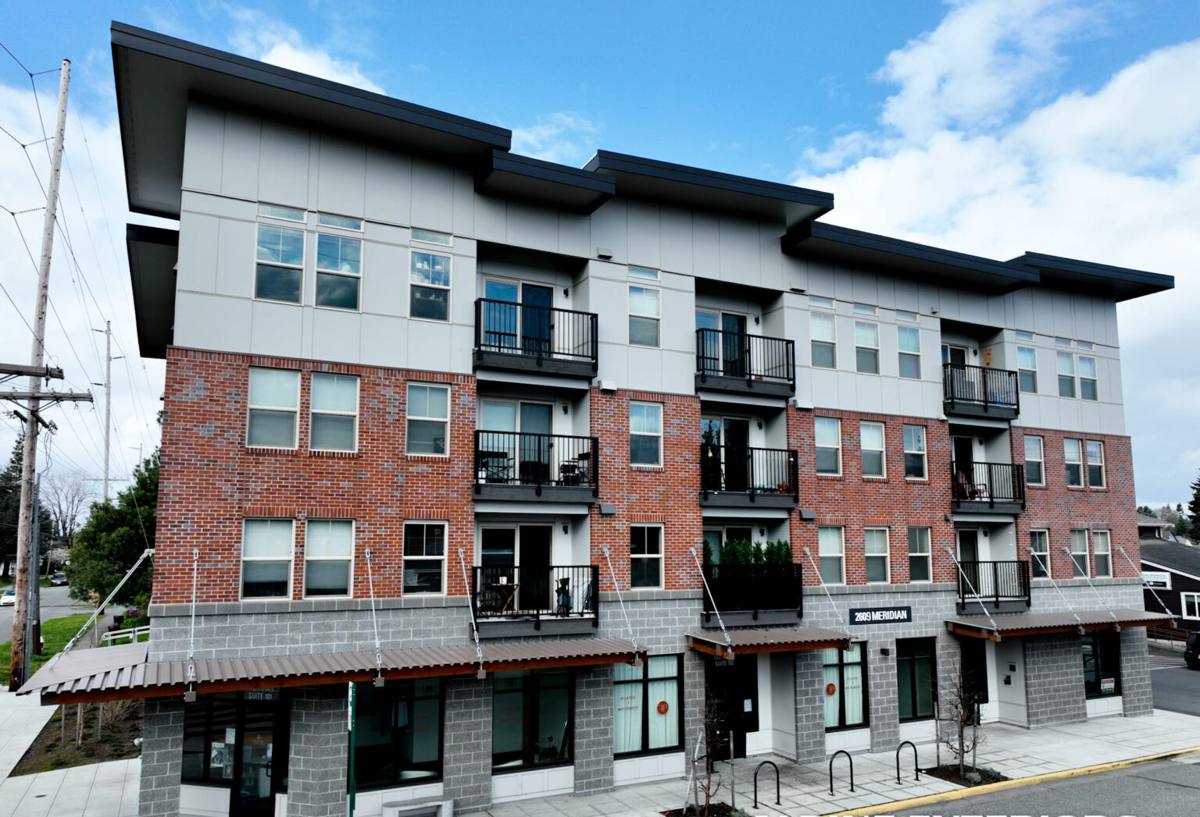
New-Construction Versus Replacement Windows: Why the Distinction Matters
People sometimes assume a window is a window. It isn't, and the installation method is a big part of why. New-construction windows have a nailing flange — a flat flange around the perimeter of the frame that gets fastened directly to the wall sheathing before siding goes on. That flange is what ties the window into the building's water-resistive barrier (WRB) and drainage plane. Replacement windows, by contrast, are built to fit into an existing opening without disturbing the exterior cladding, using a different set of clips or a block frame.
Because you're building from scratch, new construction gives you one real advantage: you get to do the flashing and integration correctly, layer by layer, before anything is covered up. That's the whole point of doing it during framing instead of retrofitting later — there's no excuse for a sloppy seal when the wall is still open.
Where New Construction Still Goes Wrong
Even with an open wall, we see call-backs from other builds where the basics got skipped: sill pans left out, flashing tape run in the wrong order (shingle-style, bottom-to-top, is not optional), or the window fastened before the WRB was properly lapped over the flange. On a house that isn't exposed to much weather, some of those shortcuts might not show up for years. On a house facing Semiahmoo Bay or the Strait of Georgia, they show up fast.
What Birch Bay's Climate Actually Does to a Window Installation
Whatcom County isn't uniformly wet in the same way everywhere — Birch Bay and the rest of the Semiahmoo waterfront get a specific combination of conditions that inland Bellingham neighborhoods don't deal with nearly as hard.
Salt Air
Airborne salt from the bay accelerates corrosion on anything metal — hinges, cranks, screws, cladding fasteners, and lock hardware. It also degrades some sealants and finishes faster than a standard product warranty assumes. This is why hardware and fastener selection isn't a cosmetic choice for a waterfront build; it's a durability choice.
Driving Rain
Wind off the water pushes rain sideways, not straight down. A window detail that would shed water fine in a calm rain can leak under wind-driven rain if the flashing laps aren't sequenced correctly or if the sill pan doesn't have a positive slope to the exterior. This is the single biggest reason coastal installs need more attention to flashing detail than the same window would need set back from the water.
The Long Moss Season
Whatcom County's damp season runs long, and moss and algae growth on north-facing walls and trim is a fact of life here. Sustained dampness around window trim and sealant joints, season after season, is what eventually finds any weak point in the installation. A correctly flashed and sealed window sheds that moisture before it ever becomes a problem; a marginal install slowly loses that fight.
Choosing Window Materials for a Waterfront Build
There's no single "best" window material — it depends on your budget, your home's design, and how much upkeep you want to sign up for. Here's how the common options actually perform in a salt-air, high-moisture environment like Birch Bay.
| Material | Salt Air / Moisture Performance | Maintenance | Typical Cost Position |
|---|---|---|---|
| Vinyl | Won't corrode; UV and heat cycling can affect long-term seal integrity in some products | Low — occasional cleaning | Lower |
| Fiberglass | Very stable dimensionally, resists corrosion and moisture well | Low | Mid to upper |
| Aluminum-clad wood | Exterior clad face resists weather; wood interior needs the seal to stay intact | Moderate — interior finish upkeep | Upper |
| Bare aluminum frame | Prone to corrosion pitting in salt air without a quality finish; thermally less efficient | Moderate to high | Varies |
Hardware finish matters as much as frame material on this stretch of coast. We steer clients toward corrosion-resistant hardware packages for any Birch Bay build, regardless of which frame material they choose, because the hardware is usually what fails first in salt air — not the frame itself.
How a Correct New-Construction Window Installation Actually Works
This is the sequence that keeps water out for the life of the window, not just the first few winters:
- Rough opening is checked for square, level, and correct size before the window ever arrives on site.
- Sill pan flashing is installed with a back dam and positive slope to the exterior, so any water that gets past the window drains out, not into the wall.
- The window is set, shimmed level and plumb, and fastened through the nailing flange per the manufacturer's schedule — not "close enough."
- Jamb and head flashing tape is applied in proper shingle-lap order: sides first, then head, so water is always directed outward and down.
- The water-resistive barrier is lapped over the top flashing, integrating the window fully into the wall's drainage plane.
- Interior gaps are insulated (not overpacked, which can bow the frame) and the interior air seal is completed.
- Exterior trim and sealant are installed last, with sealant joints sized and backed correctly rather than just caulked over a gap.
Why the Order Matters
Every one of those steps assumes water gets past the previous layer eventually — that's the whole logic of a drainage-plane approach. Skip the sill pan, or reverse the flashing lap order, and you've built a pocket that holds water against the framing instead of shedding it. On a house facing driving rain off Semiahmoo Bay, that mistake doesn't stay hidden long.
Our Process, From Framing to Final Walkthrough
For new builds and additions in Birch Bay, we coordinate directly with the builder or general contractor so window installation lines up with the framing schedule instead of holding it up.
1. Rough-In Review
Before windows are ordered, we verify rough openings against the approved plans and product specs. Catching a sizing mismatch here costs nothing; catching it after drywall costs real money.
2. Product Selection
We walk through material, glazing, and hardware options based on the home's exposure — a wall facing open water gets a different recommendation than a sheltered, tree-lined elevation, even on the same lot.
3. Ordering and Lead Times
Custom sizes and coastal-rated hardware packages can extend manufacturer lead times. We flag this early so it doesn't become a surprise that stalls the framing crew.
4. Installation
Windows go in following the sequence above, with flashing and sealant work done before the wall is closed up — never patched in after the fact.
5. Inspection and Walkthrough
Every opening is checked for operation, seal, and squareness before we consider the job finished, and we walk the punch list with the builder or homeowner directly.
Energy Performance and Whatcom County's Code Requirements
Washington's energy code sets minimum performance requirements for new-construction glazing, expressed as U-factor (how well the window resists heat loss) and, in some cases, solar heat gain coefficient (SHGC, how much solar heat passes through the glass). For a Birch Bay build, we also factor in wind exposure and glare off open water when helping clients choose a glazing package — a window that meets code on paper can still feel drafty or run hot in a specific spot if the glazing wasn't matched to that wall's real-world exposure. We size and spec glazing to meet current code minimums while accounting for the site conditions, not just the spreadsheet numbers.
What Drives the Cost of a New-Construction Window Package
Every build is different, but the same handful of factors move the price up or down on most jobs. We give straight, itemized numbers once we've seen the plans — nobody should be quoting a whole-house window package sight unseen.
| Factor | Why It Matters |
|---|---|
| Number and size of openings | Larger and more numerous windows mean more material and labor |
| Frame material | Vinyl, fiberglass, and clad-wood carry different unit costs |
| Glazing package | Upgraded low-E coatings or impact-rated glass add cost for better performance |
| Hardware finish | Corrosion-resistant hardware for salt-air exposure costs more than standard finishes |
| Site access | Waterfront lots and multi-story openings can add scaffolding or staging time |
| Custom sizing | Non-standard openings require custom orders, which cost more than stock sizes |
Why a Crew That Already Works Birch Bay Makes a Difference
A contractor who's done this coastline before isn't guessing at flashing details or hardware specs — they've already seen what holds up here and what doesn't. That familiarity shows up in a few concrete ways: knowing which elevations on a given lot take the worst of the wind-driven rain, having a working relationship with local building inspectors and knowing what they'll want to see at flashing inspection, and understanding realistic lead times for the hardware and glazing packages that actually make sense for this exposure. It also means fewer surprises mid-build — we're not learning Whatcom County's coastal quirks on your project.
Pre-Installation Checklist for Birch Bay Homeowners and Builders
- Confirm window rough openings against final approved plans before ordering.
- Choose frame material and hardware finish with the home's actual wind and salt-air exposure in mind, not just the showroom sample.
- Ask what sill pan and flashing method will be used, and in what order.
- Verify glazing specs meet current Washington energy code for the home's climate zone.
- Build in realistic lead time for custom sizes or upgraded coastal hardware.
- Plan the installation sequence with your framer so windows go in before the wall is closed up, not after.
- Ask for a walkthrough and punch list before final sign-off.
A Straightforward Recommendation for Your Build
New-construction windows are one of those jobs where doing it right the first time costs less, in real terms, than fixing it after the siding and drywall are in. That's true anywhere, but it's especially true on a Birch Bay lot facing salt air, driving rain, and a long stretch of damp moss season every year. The sequence — sill pan, flashing, WRB integration, sealant — isn't complicated, but every step has to happen in order and every step has to be done with this specific coastline in mind.
If you're planning a new build or addition in Birch Bay or elsewhere around Semiahmoo, we're glad to walk your plans, talk through material and glazing options for your site's exposure, and give you a straightforward, no-pressure estimate — just fill out the form below to get started.