 Semiahmoo Exterior
 Building New in Blaine Harbor Means Getting the Window Opening Right the First Time
If you're framing a new home or major addition near Blaine Harbor, the windows are one of the few building components where a mistake doesn't show up right away — it shows up two, five, or ten winters later, as staining on the interior sill, soft sheathing around the rough opening, or a slow mold problem inside a wall cavity. New-construction window installation is a different job than swapping out an old window. It happens during framing, before siding goes on, while the weather-resistive barrier (WRB) is exposed and the rough openings are still raw wood. Done right, the window becomes part of a continuous water-management system built into the wall. Done wrong, it becomes the weak point in that system.
We work new-construction window installs specifically in and around Blaine Harbor and the broader Semiahmoo area, which means we're used to building for this exact stretch of coastline — not a generic Pacific Northwest install, but one that accounts for what happens to a house sitting close to salt water with wind-driven rain coming off the strait for months at a time.
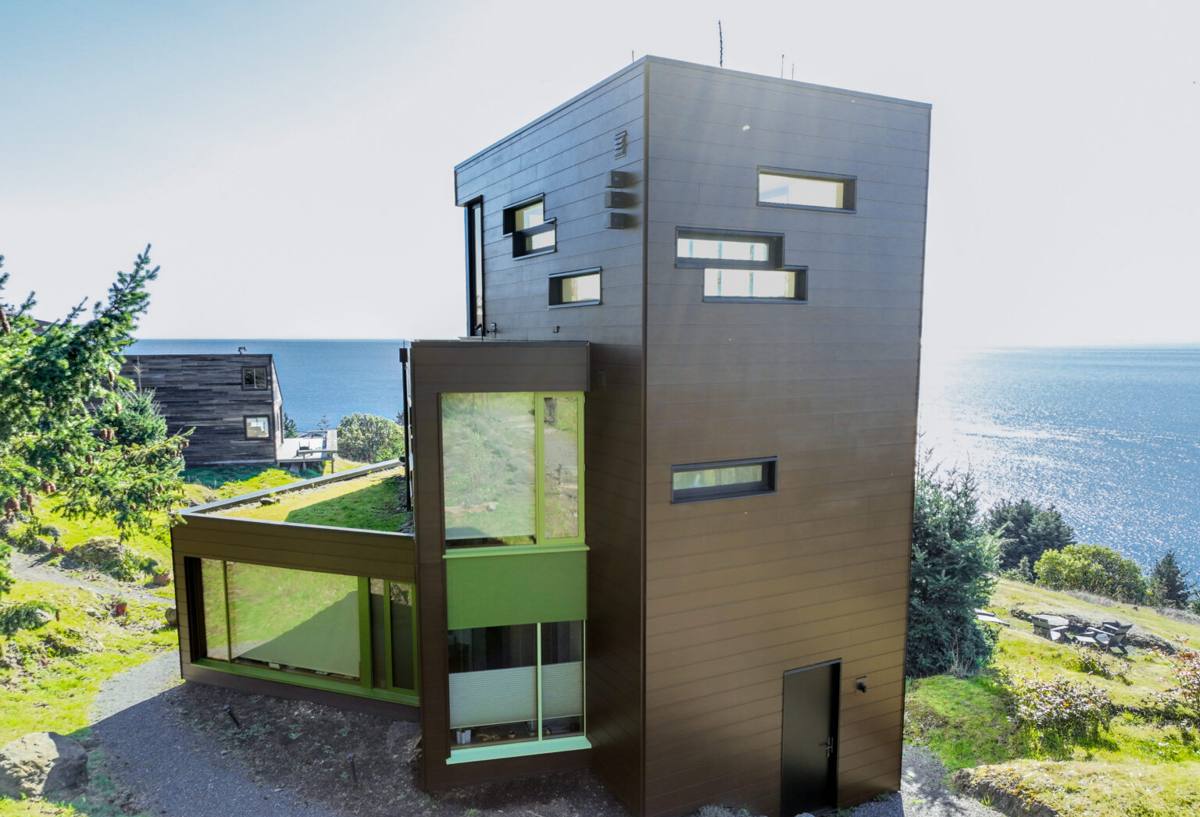
What Semiahmoo's Coastal Climate Does to a New Window Opening
Semiahmoo sits right on the water, and that proximity changes what a window opening has to withstand compared to a home a few miles inland. Three things matter most here:
- Salt air accelerates corrosion on exposed fasteners, uncoated flashing metal, and lower-grade hardware. Materials that hold up fine inland can pit or streak faster this close to the water.
- Driving rain off the strait doesn't fall straight down — it's pushed sideways against the building envelope, which puts far more stress on flashing laps, sill pans, and sealant joints than a calm, vertical rain would.
- A long moss and moisture season means any spot where water is allowed to sit — a poorly sloped sill, a flashing lap installed backward — stays wet for weeks at a stretch instead of drying out between storms. Wet-and-dry cycling is what most siding and trim can tolerate; wet-and-stays-wet is what causes rot.
None of this requires exotic materials or unusual techniques. It requires disciplined, correct sequencing on every single opening, because this climate doesn't forgive shortcuts the way a drier region might.
New-Construction vs. Replacement Windows: Know the Difference
Homeowners sometimes assume "new windows" is one job. On a new build, it's a different product and a different installation method than replacing an existing window in a finished wall.
| Factor | New-Construction Window | Replacement Window |
|---|---|---|
| Frame type | Nail-fin frame, fastened to sheathing before siding | Flush-fin or block-frame, fits inside existing opening |
| Access to WRB/flashing | Full access — installed while wall is open | Limited — existing siding and trim usually stay in place |
| Water management | Built into the wall system as one continuous plane | Relies more heavily on sealant at the perimeter |
| Best fit | New homes, additions, full wall reframes | Existing homes with intact siding and trim |
Because we work on both new builds and existing homes throughout the area, we make sure the right product and the right method are used for the stage your project is actually at — not a one-size-fits-all approach.
What a Correct New-Construction Window Install Involves
Sill Pans and Sloped Sills
Every rough opening should have a sloped sill pan under the window — a shaped, waterproof pan that directs any water that gets past the window (and eventually, some always does) back out to the exterior instead of letting it pool on the sill or seep into the framing below. This is one of the most commonly skipped details on lower-budget installs, and it's one of the most important ones in a climate that sees this much driving rain.
Flashing Sequencing
Flashing has to be installed in the correct shingle-lap order — sill pan first, then the window, then jamb flashing, then head flashing, with the WRB integrated over the top and under the sides at every step. If any layer is installed out of sequence, water gets directed behind the flashing instead of over it. This is a detail you can't easily inspect once siding is on, which is exactly why it has to be done right the first time.
Nailing Fin Attachment and Fastening
Nail fins need full, even fastening per the manufacturer's schedule — not a handful of nails to hold the window in place while the crew moves on. Under-fastened windows can rack, bow, or develop gaps at the corners over time, especially with the wind loads a waterfront lot can see.
Sealant as a Backup, Not the Primary Barrier
Sealant should reinforce a correctly flashed opening, not substitute for one. An opening that depends on a bead of caulk to keep water out is an opening that will eventually leak, because sealant is a maintenance item with a service life — flashing and pan sloping are not.
Choosing Window Products for a Blaine Harbor New Build
There's no single "best" window material for every project — the right call depends on budget, exposure, and how the house is finished. Here's how the common options compare for a coastal new build:
| Material | Coastal Considerations | Maintenance |
|---|---|---|
| Vinyl | Good moisture and corrosion resistance; performs well in salt air at a reasonable cost | Low — occasional cleaning |
| Fiberglass | Very stable in temperature swings and moisture; strong long-term option for exposed sites | Low — durable finish |
| Aluminum-clad wood | Attractive interior wood look with an exterior shell; cladding and seams need careful detailing near salt air | Moderate — interior wood finish upkeep |
| Bare aluminum frame | More prone to corrosion and condensation this close to the water without added protective finishing | Higher — watch for pitting and condensation |
We'll talk through these trade-offs honestly for your specific home rather than pushing one product line — the right choice depends on your elevation, exposure to prevailing weather, and how the rest of the exterior is finished.
Energy Code and Performance in Whatcom County
New construction in Whatcom County has to meet the Washington State Energy Code (WSEC), which sets minimum performance standards for window U-factor (how well the window resists heat loss) as part of the overall building envelope. The exact number that applies to your project depends on your compliance path — prescriptive, performance, or component — and how the rest of your envelope (walls, insulation, air sealing) is designed, so it's worth confirming the specific target with your builder or the local building department rather than assuming a single number applies. What we can tell you from experience: on a waterfront or near-waterfront lot, it's worth choosing a window that comfortably clears the minimum rather than one that just barely squeaks by, since a home this close to open water tends to see more temperature swing and wind exposure than the code minimums assume for an average inland lot.
Our Process for New-Construction Window Installs
On new builds, we coordinate directly with your framer or builder so the window install lines up with the rest of the wall assembly rather than working against it. In general, that looks like:
- Reviewing rough openings for correct size, square, and plumb before any window arrives on site.
- Installing sloped sill pans and WRB prep at every opening.
- Setting and fastening windows to manufacturer specification, checking for level, plumb, and square at each unit.
- Flashing in correct shingle-lap sequence — sill, jambs, head — integrated with the WRB.
- Sealing per manufacturer requirements as a backup layer, not a first line of defense.
- A final walk-through with photos of the flashing details before siding covers them up, so there's a record of what's behind the wall.
That last step matters more than people expect. Once siding goes on, nobody can see the flashing again without tearing something apart — having documentation of that work gives you and your builder a reference if a question ever comes up down the line.
Checklist: What to Confirm Before Your Windows Go In
- Rough openings are checked for square, level, and correct sizing before delivery.
- Sloped sill pans are specified for every opening, not just the ones facing prevailing weather.
- Flashing sequence follows proper shingle-lap order with full WRB integration.
- Window U-factor and performance ratings meet or exceed your project's WSEC compliance path.
- Fastening follows the manufacturer's nailing schedule, not a reduced field shortcut.
- Someone documents the flashing details in photos before siding is installed.
Why a Crew That Already Works Blaine Harbor Matters
Good flashing technique is good flashing technique anywhere — but knowing how hard the weather actually leans on a house here changes the judgment calls that come up on site: where to add extra flashing width, which openings face the worst of the wind-driven rain, and where salt exposure means paying closer attention to fastener and flashing material selection. A crew that installs windows across Semiahmoo and Blaine Harbor regularly has already seen how homes in this specific area age over time, which is a different kind of knowledge than general new-construction experience from somewhere drier or further from the water.
If you're framing a new home or addition in Blaine Harbor and want your window openings built right from the start, we're happy to walk the plans with you and give you a straightforward, no-pressure estimate — just fill out the form below.